To become a prepper In today’s world, Where food comes from a shelf or refrigerator in the supermarket will take some planning and learning. When my son was about 4 years old, we went to our uncle’s farm for a holiday. Driving up the road, We showed him a cow and told him that we get milk. He promptly informed us “No! it comes from the shop”!
How times have changed and seem to be going full circle. When SHTF in South Africa, we will see how the wheel has completed the full circle. We will be back to subsistence farming! We will be producing and preserving our own food, raising and killing our own animals for food for the family. Some of us have already started preparing for when that time arrives.
You will note that I said when and not if! What with the unemployment rate at its highest ever, The State coffers empty and the ANC not even being able to pay their staff, How long do we think this can go on?
What Is Prepping?
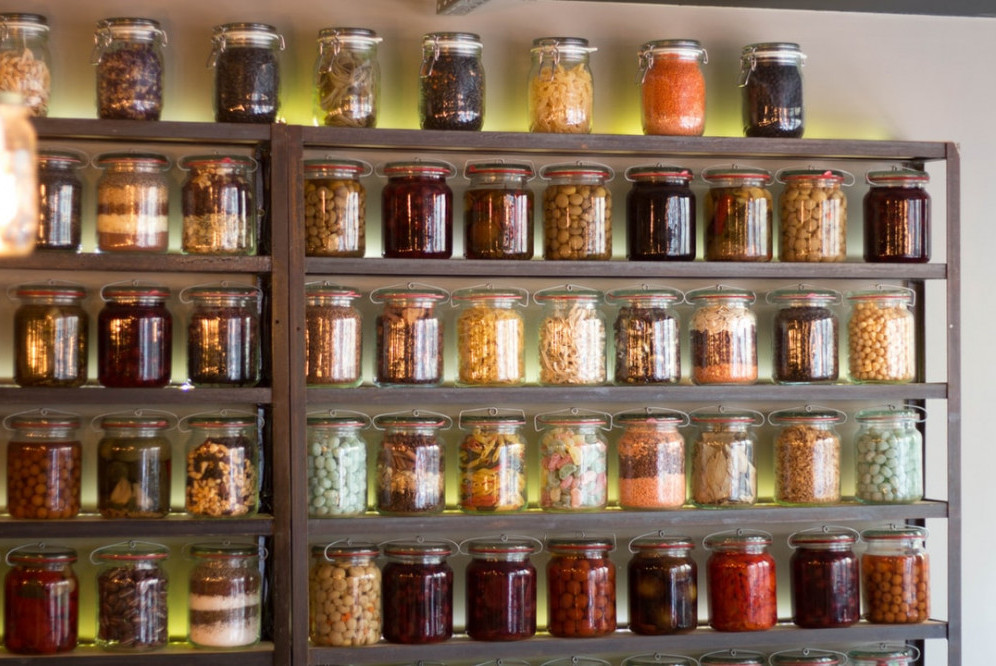
Many people (those once considered on the fringe) have been prepping for years. They have collected and preserved food, medical supplies, chronic meds, clothing, school materials, trading goods, fuel, water and more. But there are two types of prepping and you must do both.
Physical Prepping
This is the most common form of prepping and is covered quite extensively all over and it is extremely important. Without it, you will become a refugee without any resources. A refugee in your own county! How much of a shock will it be to your system when SHTF and you arrive in a “Safer Zone” With only what you have in your car, caravan or trailer? No home, no security, no prospects in the foreseeable future! How much more devastated will you and your family be if you arrive there with nothing?
You really need to prep!
Psychological Prepping
This is the part that many people do not consider when prepping. It is all well and good collecting food and items that you might need in the future. A lot of people treat it as preparing for a camping trip, and it is, by and large. You need to sit and think and discuss with your family what you will need to do, what you will leave behind, and prepare them for that possibility.
Abandoning Your Life’s Achievements
The main difference between physical prepping and mentally prepping is, if you look around you, is that the house that you have, Yes, that one that has everything you need and a lot of what you want, that house with your big screen TV, DSTV, Braai area, swimming pool, double garage for your and your wife’s vehicles and then your workshop. That one. Well, it won’t be there on the other end of your journey and you will probably never come back to it! It will be lost, gone never to be seen again!
Are you and your family ready for that? If you have not prepared for that yet, leave this page, sit with your family and have that discussion! prepare your family mentally. Once you have done this, then you can come back to this page that you have bookmarked, and see what you have to do next.
Getting there Is Important

Prepping and having everything physically and mentally ready is only part of the job. You have to get everybody and everything you have prepped to your destination. This is not going to be a walk in the park. There will be hazards along the way. Do you have a route planned? What about Defense? Do you have a plan and better still, weapons?
Are you travelling alone or are you joining a group?
Finding Shelter
When you reach your destination and you have prepped well, you will have a much less stressful life than those that are refugees. Having prepped, you might have more of a choice over where you go and how you live. If you belong to a group, you might have a preplanned destination where you have access to certain services, like electricity, water and some food.
If you are a refugee, you will be managed by those who have prepared and organised for this eventuality and hopefully, they will have food and shelter for you and your family, but it will be where they say you will live. You will have little or no say over shelter, food or security.
Keeping The family Fed
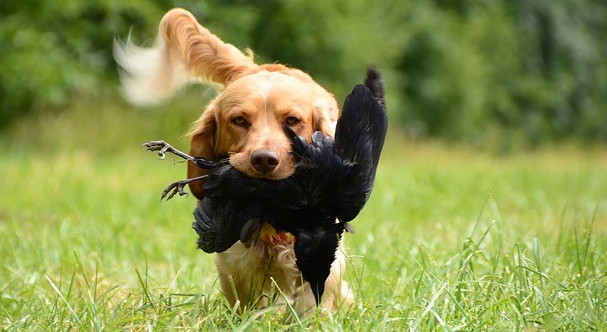
Now down to the business of becoming The Killer Prepper – You Will Have To Become One To Butcher Your Own Meat. This will be your job if you have prepped well and you have managed to bring or acquire poultry, rabbits similar small game.
If you have carried barter goods with you, you might be able to barter for some chickens, rabbits or maybe a sheep.
Keeping Animals & Birds
If you have brought live poultry or animals with you. you will need to feed them to keep them alive and, hopefully, get them to produce offspring. It is not simply a matter of food and keeping them in. There is the matter of keeping wild animals (the two-legged type as well) out of the cages as well. It would be disastrous to wake up in the morning to find your cages empty, so please keep security in mind.
Slaughtering & Dressing Your Animals(Chickens)
 Now we have reached the business end and it is not everyone that finds this an easy chore. It is unpleasant at first but is absolutely necessary to feed your family. Remember the wheel turning full circle. Now you are a hunter and that means killing animals for food and clothing.
So let us start
- Starve your animal for 24 hrs – this brief starving of the birds clears the gastrointestinal tract, making for easier and far less messy butchering
- The killing of the bird is typically the most difficult part of the process, emotionally and psychologically. Naturally, you will want to do the job as quickly and humanely as possible (Please note that, whatever method you choose, it is essential that the bird bleed out completely. The dressed bird will not keep nearly as well, nor taste as good if the blood remains in the muscle tissue).
- The chopping block, A solid log on end makes a good chopping block. Knock a couple of large nails into the block, between which the bird’s head can be placed as you pull on the feet. Restraint in this way, the bird is unlikely to continue struggling.
- Don’t be rushed—pull on the feet, stretch out the neck, take a breath, and steady yourself for a decisive blow of the hatchet that takes off the bird’s head with one whack.
- Hold it away from you and close to the ground, so the blood will drain without spattering on you.
- Scalding For this you need a large pot which you will need to keep over a fire to keep the water hot. Add a few drops of liquid soap to the water(to break the surface tension of the water and increase penetration to the skin). Put the bird into the hot water and use some sort of stake to move the bird up and down. After a minute or less use your stake to snag a leg. Pinch-squeeze the scaly covering of the leg. When that covering breaks loose from the skin of the leg, remove the bird from the pot, and dip in cold water. (This stops the skin from overheating from the residual heat in the water under the feathers).
- The key to easy plucking is a good scald. The scalding temperature is nowhere near the boiling point.it is about 33°c, and that is a good temperature to aim for if your scalding container is over a stovetop or burner. It is not necessary to use a thermometer to measure the temperature. Just stick a finger into the water. If you can keep it in the water for one second and no more without any burns, that’s a proper scalding temperature. Careful though. Over-scalding (either through too high temperature or scalding too long) starts to cook the skin, which then tears when you pluck. Under scalding, on the other hand, fails to loosen the feathers and they are difficult to pluck. There is no exact formula that can be given for scald time—how long to scald depends on the age of the bird, the species, and the point in the plumage cycle,
- Plucking If you’ve scalded properly, it will be fairly easy to remove the feathers in handfuls. It’s better to start with the largest feathers (wings and tail) as they are the ones that become more difficult to pull out as the follicles cool.
- Cold Dunk the chicken into cold water to cool it down and stop the cooking of the skin.
- Cleaning the feet Now I have never cleaned the feet or head for personal use, but in these times I think we will need to use every part of every animal. There will be no room for personal preferences.
- Starting the Evisceration Once again I must admit to never using a part of the chicken, and that is the head. I believe it can be cleaned and eaten or used in the stockpot.
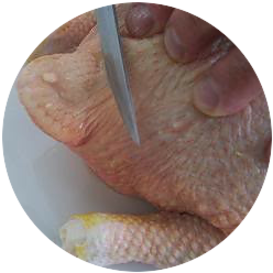
- Crop, Windpipe & Esophagus With a sharp knife, Cut the skin around the base of the neck. Cut only the skin and as you do so, you will see the crop.
- Separate the Skin, crop, Windpipe and Esophagus from the neck and cut it all off as close to when it enters the body as you can. Do not leave a “stub” when you cut off the neck—that would leave jagged edges of sheared bone that may poke
through your wrapping later. Instead, force the blades of your shears around the neck but well up between the shoulders
of the wings. After your cut, the sheared edges will be protected from the wrapping by the shoulders - If the crop is not completely empty, a quick wash in clean water will wash it all away.

- Now separate the two tubes from the flesh as far into the body as you can. you want it free so that you can remove it from the body with the rest of the innards.
- Legs – now cut off the lower portion of each leg.
- Remove the Oil Gland The chicken’s tail has an oil gland on it that almost all people remove during the butchering process. Make a single cut above the gland. Start slightly forward of the little nipple of the gland and simply slice down vertically until it hits the bone. Then turn the edge of the blade toward the end of the tail and make a scooping cut to slice off the nipple and the two fatty lobes of the gland beneath.
- Opening the Body Cavity Opening the Body Cavity Lay the bird on its back and make a shallow slicing cut into the abdomen, just beyond the end of the keel (breastbone).
- Cut through skin and fascia (the translucent membrane surrounding the inner organs) only. Remember good knife technique: Avoid poking at the skin with the point of the knife—the bird’s intestines are millimetres below.
- If you have a slip of the knife and a nick of the intestine, spilling its contents into the body cavity, do not despair—even with such a mishap, your home butchering is vastly more sanitary than the filthy conditions under which commercial poultry is processed.
- After eviscerating, simply do a more thorough rinse of the interior cavity than usual.
- Make the cut into the abdomen just big enough to hook two fingers from either direction and give a stout pull, tearing a larger hole in the skin and fully opening the interior cavity.
- Please note that the pressure exerted on the intestinal tract at this point can cause a “smelly” problem, forcing out some of the residual faecal material from the cloaca.
- This is only likely to happen if the bird was not properly starved in preparation for slaughter, but you can guard against it any time by hanging the vent end of the bird over a drain when you pull open the carcass. If there is an expulsion, rinse
it away from the vent, being careful to avoid backwash into the body cavity. - Remove the Heart Reach as far as you can into the body cavity to find an organ that feels like a large grape—the heart. Hook two fingers around it and pull it out.
Bar the cleaning of the innards, if you wish to use them, your chicken is now ready to package and refrigerate. This is something you will probably have to get used to as you will have to clean any meat you want if you do not have enough trading goods to secure dressed animals.
You have now learned that to be The Killer Prepper – You Will Have To Become One To Butcher Your Own Meat and you have learned how to do it. It is certainly not a pleasant job but it needs to be done. We have dealt with chickens in this post and I will, in a later post deal with rabbits.
We will also look at ways to keep your veggies and meat cool without electricity, thus making it last a little longer.
If you have any comments, please leave them below or ask any questions here.

“It is better to have prepared and never to need it than to be unprepared and be in desperate need of it”.
Be Aware. Be Safe. Be Prepared!
